This is Part 2 of a 3-part series. Check out all the parts here!
Part 1: Here!
Part 2: This post.
Part 3: Here!
As a child, I loved to play Donkey Kong Country 2: Diddy’s Kong Quest; as an adult in my early thirties, I still love playing it. One of the reasons, among many, why is the game’s character movement feels almost perfect. Never do I feel as though I can’t adequately control Diddy or Dixie Kong as I navigate them through many levels of perilous adventure. As a game designer, I found myself wondering: what is it, exactly, that makes me love DKC2’s movement so much?
To answer that question, I’ll take a close look at the action verbs DKC2 employs related to the player characters. It’s not just a matter of analyzing the actions and movements in and of themselves, however; the level and enemy design of DKC2 are intentionally crafted to augment those basic and special actions. As is undoubtedly true for many games, it is the whole package together which creates that feel I love so much.
In the previous part, we took a look at the specific actions the Kongs can make, from walking and running to jumping and throwing, as well as the various special forms of movement, like climbing and swimming, and the animal buddies which modify how basic movements work. The actual abilities are only part of the overall story, though; just as critical as how you can move is where you can move. Without level design that compliments the possible actions you can take, a game won’t be as fun as it could be.
Exploration Evaluation
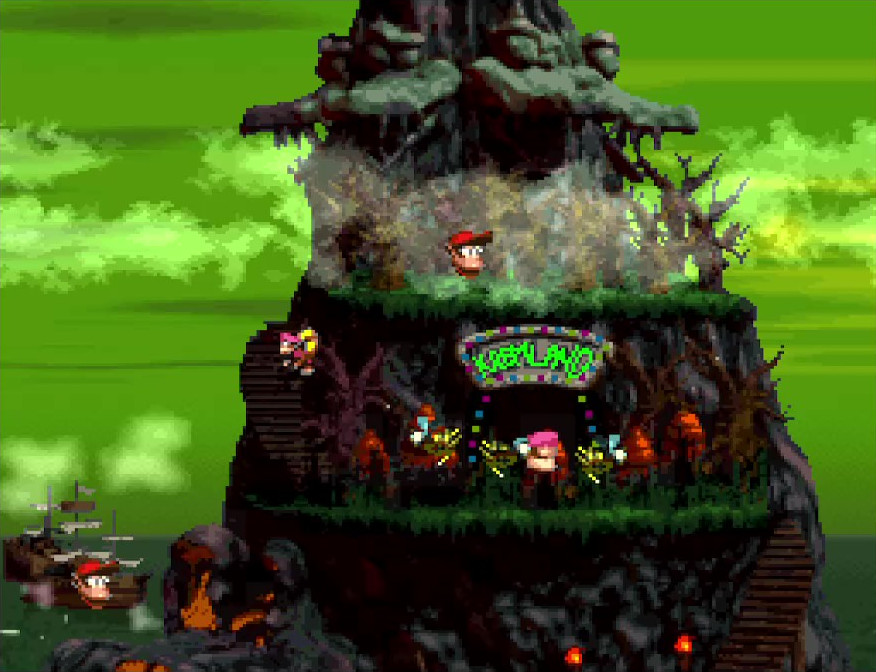
There are 40 regular levels, excluding boss stages. Many challenging sections are included in those levels, often increasing in difficulty as you progress from the early stages to the later ones. While some stages involve special gimmicks, a lot of times the challenge is derived simply from taking the actions you are familiar with and asking you to execute them well to progress. Let’s break down some of the ways this is accomplished.
Basic Navigation
First of all, because the Kongs’ movement is so well-tuned, it’s fun on its own to just move your Kong throughout the level. The short accelerations make the movement feel more smooth while not taking away from your control, like sometimes happens when using long acceleration times. The minimal jump scaling gives you just the right amount of height, and the timing on how much you scale seems perfectly balanced so that you can get the exact jump height you want. The spin move feels fluid and lasts just the right length of time so that you don’t feel like you lose control when you use it. All in all, simply moving through the level is fun.
Beyond moving around, the level structure itself is used to make it easy to figure out where you need to go. In many cases, you are asked to move right (for horizontal levels) or up (for vertical levels). By employing a consistent pattern for where you are expected to move, it makes it hard to get yourself lost in any given level. Some levels are “square”, and in these you start traversing from right to left (or, sometimes, right to left); you eventually reach a vertical section of the level, either up or down, and you then traverse the horizontal plane in the opposite direction from which you came, until you reach the next horizontal section. There are a few cases where this formula is played with, for the sake of variety, but it is never done in a confusing way; you still always know where you should be going.
This is an underrated part of feeling good about your movement; even if it’s fun to move your character around, it’s a lot less fun to not know where you need to go to make progress, and getting lost repeatedly is quite the powerful buzzkill. By making it hard to get lost in any given level, Donkey Kong Country 2 removes a potential source of frustration, and thereby makes everything feel more fun.
Collectibles
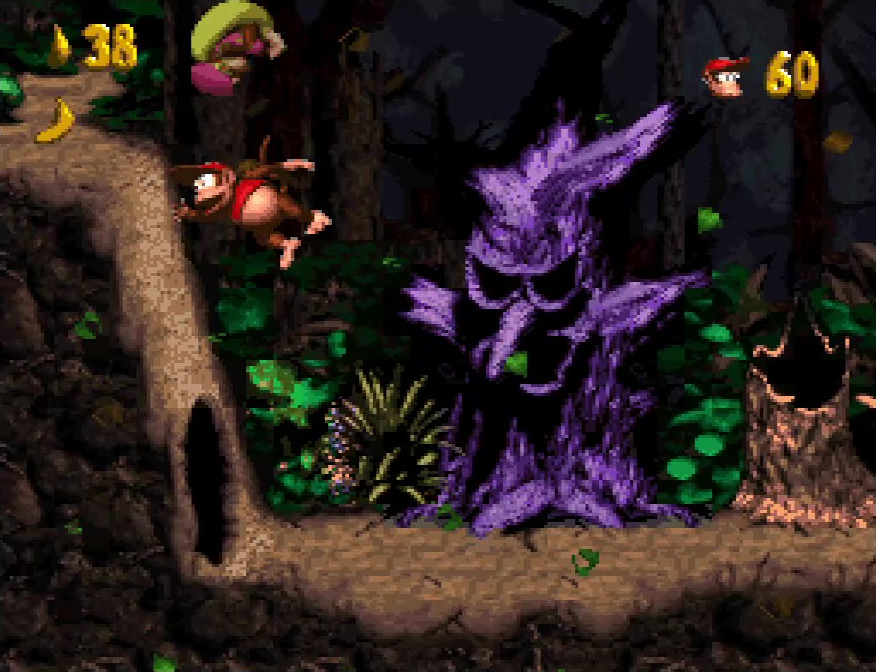
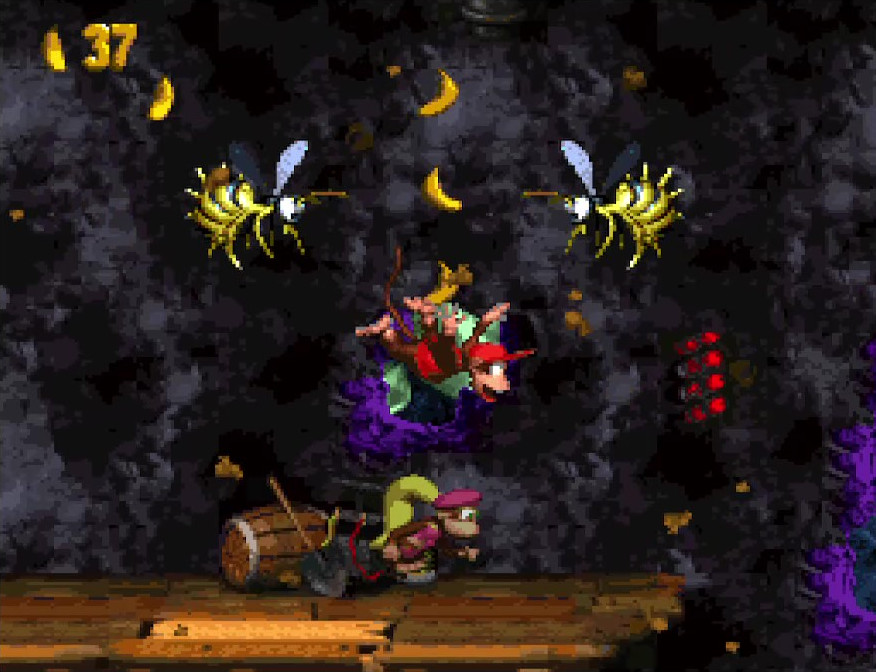
Each level also contains sections that have goodies in them, places you are meant to discover and be rewarded for the effort of doing so. Some of these are sprinkled through the course of the main path. Oftentimes, though, these goodie sections are placed in locations that go against the grain of expectations, such as to the left of the level start. A lot of times, these places aren’t particularly hard to reach, and they are intended to reward you for exploring outside of the conventional expectations.
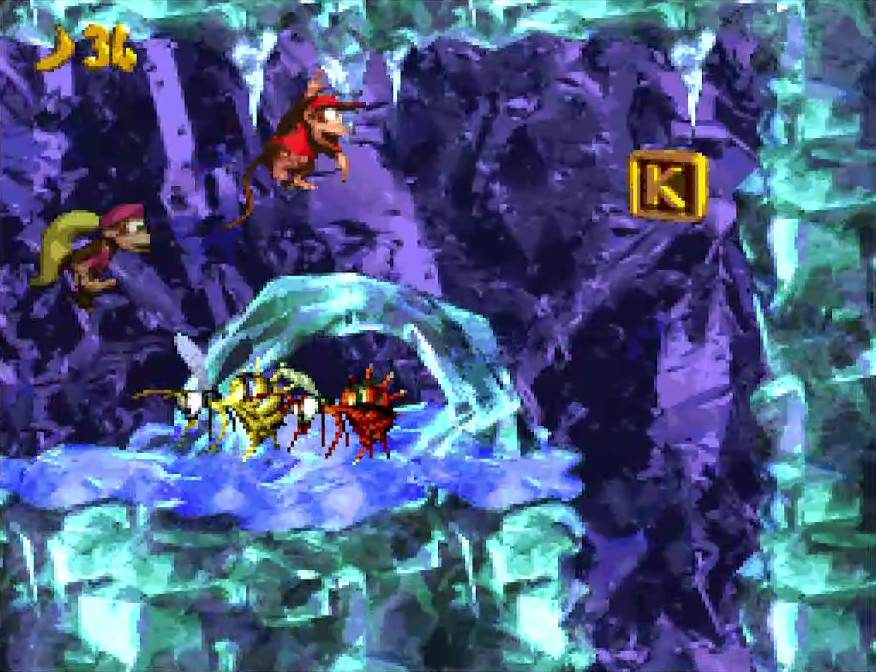
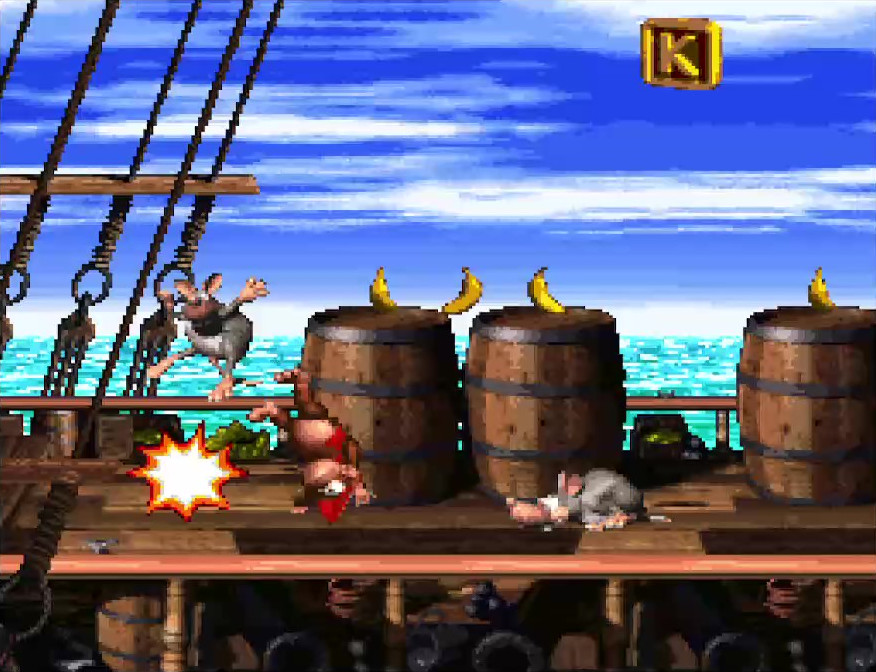
Sometimes, though, collectibles are placed in ways that challenge you to show mastery of your moves. Kong letters are often used in this way, being positioned in such a way that picking them up involves doing some difficult maneuver, like spinning off a platform and jumping at just the right time to both collect the letter and avoid falling to your death.
The ultimate collectible is the DK Coin (also known as a Hero Coin). These big, shiny coins, with the letters “DK” embossed on them, are used as an ultimate test of movement, observation, and/or timing. There isn’t a gameplay advantage to collecting them; your reward is the thrill of finding the coin and procuring it through perilous platforming and top-notch timing.
Checkpoint Barrels
Each level in Donkey Kong Country 2 has a single checkpoint barrel, roughly halfway through the level. When a checkpoint barrel is broken, if you die later on in the level you will start the level from this checkpoint barrel’s location instead of the beginning of the level.
How does this tie into movement, precisely? It adds a reprieve from having to play perfectly without dying; if you had to play an entire level without any checkpoints, it would make the game more difficult and tense to play, and thus it would be harder to justify using difficult action sequences later on in the stage. By only having one checkpoint, levels have a clear first-half/second-half dynamic that often allows for introducing level gimmicks and gameplay in the first half, and following them up with more challenging versions of those mechanics in the second half; having more checkpoints would either make individual sections feel too short, and thus not interesting enough, or too difficult, making the whole level feel more like a slog. One checkpoint barrel per level feels like just the right amount, to me.
That analysis on checkpoint segments applies to the 3D Donkey Kong Country games, which use multiple checkpoints per level. It’s one of the reasons I prefer the older games to the modern ones.
Finding Bonus Areas
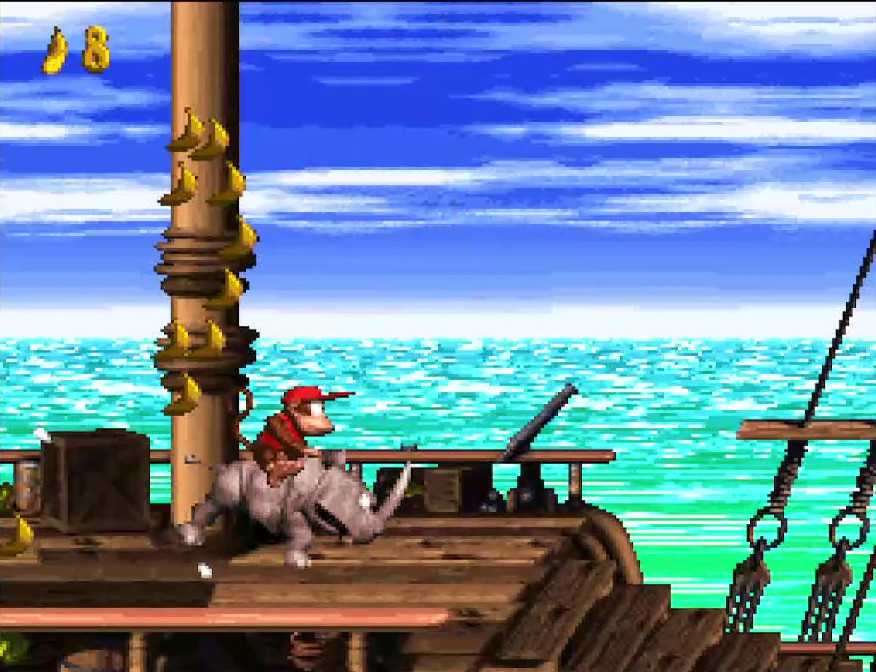
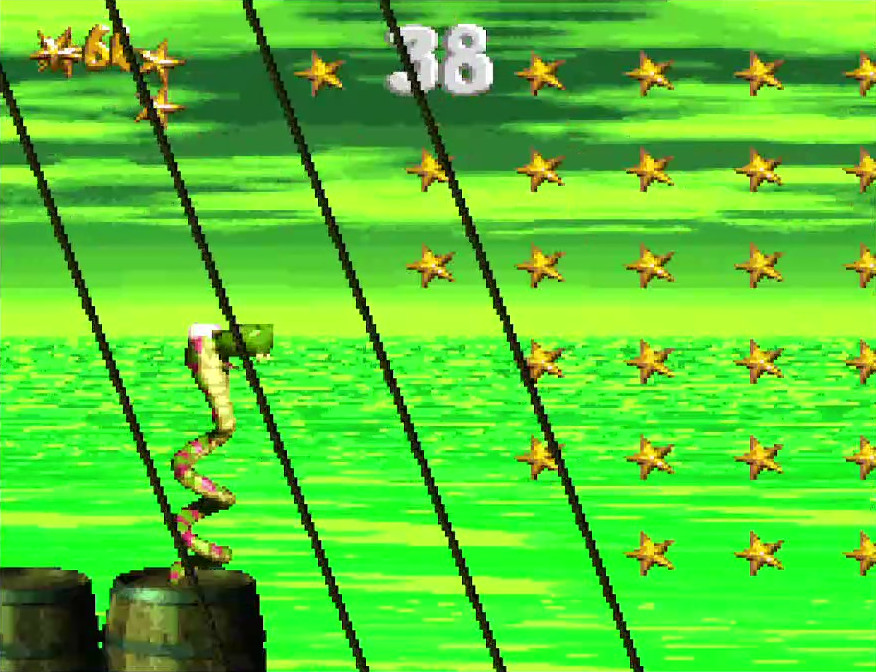
Each level contains at least one bonus area to find. These bonus areas have entrances that are hidden or obscured in a few different ways. The most obvious ones are bonus barrels, which function like blast barrels that shoot you into the bonus area; while a few are placed in obvious locations, most of these bonus barrels are placed such that they either aren’t visible or are placed in difficult to reach locations, requiring skill to reach. Some bonus areas have entrances which are hidden inside of the level walls, and you need to use a barrel or Rambi’s charge move to break open the entrance.
The final way to enter bonus areas is through Kannons, which require being loaded with cannonballs in order to shoot the Kongs into the bonus area. Whenever you find a cannonball, it always means there’s a Kannon to find in the level, and vice versa, which adds an element of expectation to the gameplay; finding the cannonball first means you need to ensure you keep hauling the cannonball with you until you can reach the Kannon, often requiring agile platforming to avoid dropping it into a chasm; finding the Kannon first means you need to search the level for the corresponding cannonball, and then bring it back to the Kannon.
The ways required to get to bonus areas often involve challenging bits of action use. For instance, a bonus barrel that is too high to jump to means you need to either have both Kongs, so you can team throw into it, or you need to have an animal buddy that can be used to maneuver the required vertical distance (such as Rattly’s jump or Squitter’s platform webs), and consequently that means you need to play well enough to keep your partner or animal buddy around long enough to reach the bonus barrel’s location. Same is true for bonus entrances hidden behind walls; you need to lug a projectile around, or find Rambi and ride him to the bonus area entrance, so that you have something to open the wall with. With projectiles, in particular, that will mean not using them on other baddies along the way, lest you sacrifice your only means of breaking open the wall. Such gameplay subtly adds difficulty in executing moves you are already familiar with, rewarding partaking in these optional challenges with the right to enter a bonus area.
Bonus areas themselves often have gameplay that challenges your mastery of the game’s movement mechanics, but since these are the same as what you encounter in normal level gameplay, just harder, I won’t go into detail on them.
End Level Targets
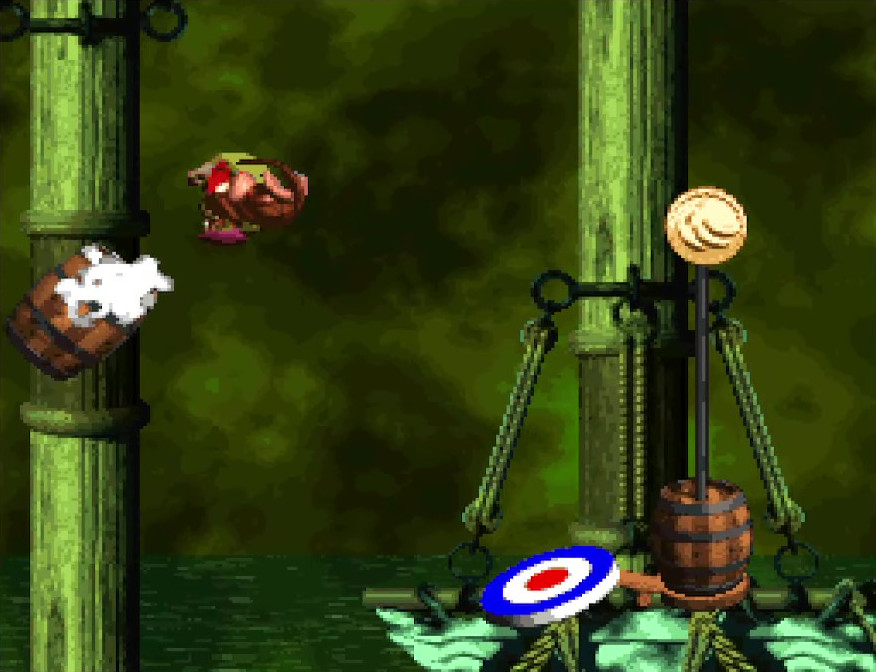
To wrap up our look into Donkey Kong Country 2’s level navigation, let’s investigate the end-of-level mechanic that is used. It consists of a target and pole, akin to hammer games you might see at a fair or carnival. The mechanics of how it works matches those counterparts as well: if you hit the target with enough force, you cause the barrel on the pole to shoot up and knock down the reward on the top; otherwise, it simply gives a lackluster bump as the Kongs scamper off stage. What reward you get is randomized between 3-4 options of differing value, from single bananas to banana coins to extra life balloons (and, in a few cases, Kong letters or Hero Coins).
Simply jumping from ground level onto the target isn’t enough to claim the reward; you need to find a height tall enough to jump from, or you need to find a blast barrel that will shoot you into the target. While it’s usually pretty obvious where you’ll need to go to get the necessary force to break the target, it’s still a small test of observational skills nonetheless.
Most of the challenge of these end-level targets, however, comes from timing your jump or blast to coincide with when the reward you want to claim appears. The cycle time is relatively short, so usually waiting to launch at the target until your desired reward is displayed results in not hitting the target until the next reward has been cycled in. Thus, you need to pay attention to the pattern to figure out when the reward you want appears in the cycle of items, and then launch shortly after the prior reward appears, ensuring that you’ll arrive on target at the correct moment.
There’s usually no threat of death during these sections, so it’s merely a matter of finding the right place to launch from, and then timing it right to get the reward you intend. It’s a simple little challenge, adding a less tense form of skillful challenge to wrap up the more difficult sections of level preceding it.
Platforming Perils
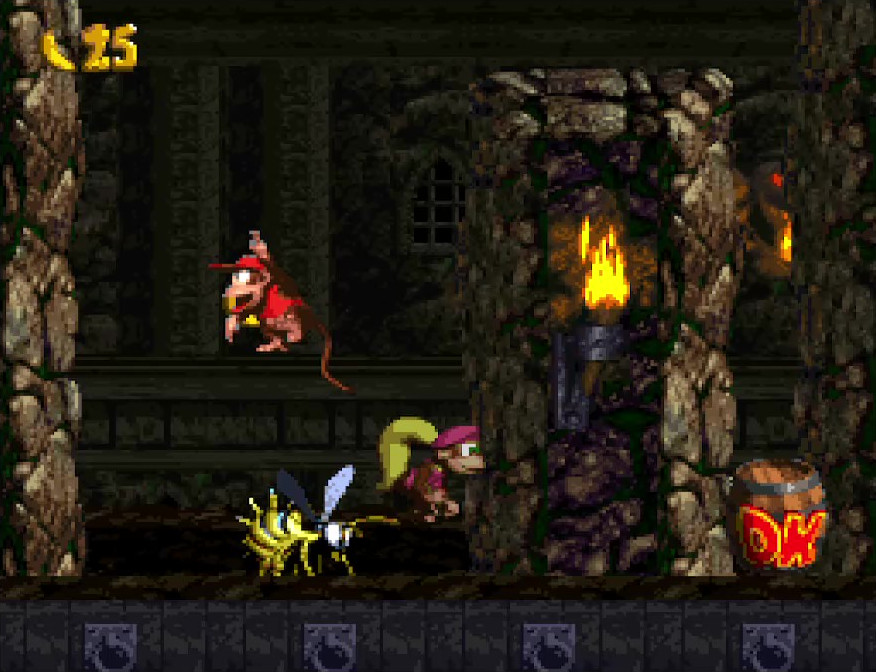
There’s more to Donkey Kong 2’s level design than just navigating the levels. Often, you the player are given challenging sequences to get past as part of level progression, using both the regular movements given to you and special movement mechanics. The degree of challenge expected from each varies, generally starting with simple asks in the first worlds, to downright difficult sequences in the final worlds. Let’s examine the various ways the game presents these challenges to you.
Level Architecture
Oftentimes, the challenges are introduced through the level’s architecture. A frequent case is the use of gaps between platforms, where you must often use running jumps or spin jumps to get enough speed to clear the gaps. The ground heights themselves are varied throughout an individual level, and those too can be used to introduce challenge, such as having to time your jump onto a higher or lower platform while avoiding a baddie shooting projectiles across that plane.
Speaking of enemy placements, those too are used to introduce platforming challenges. For instance, you’ll be asked sometimes to navigate a huge platform gap by jumping on the backs of flying enemies; failure to do this successfully results in falling downward, often to your death. Even when it isn’t required as part of level progression, jumping off of enemies is also used as a means to access goodie areas or bonus entrances.
The responsiveness and control make it feel as though you can easily pull off whatever moves you need to; there are rarely any sections that are so maddeningly precise that you have to spend an hour or more just to execute the moves needed. That doesn’t mean the challenging sections of the game are easy to pull off; you still need to be precise with your button presses. Rarely, however, will you find yourself stuck on a level section because the actions needed to get past it are borderline impossible.
There are a few exceptions. Looking at you, Animal Antics!
Climbing Sections
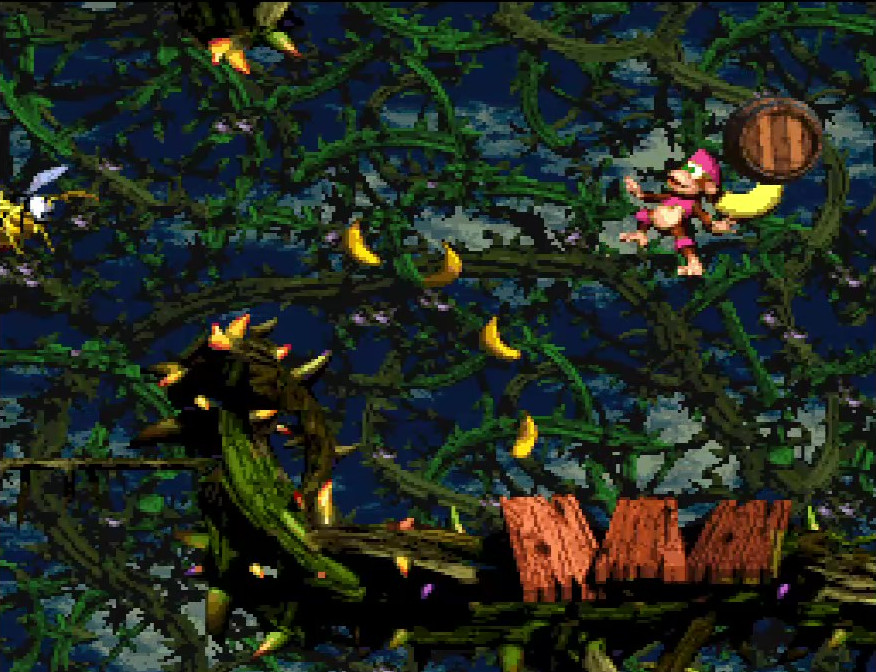
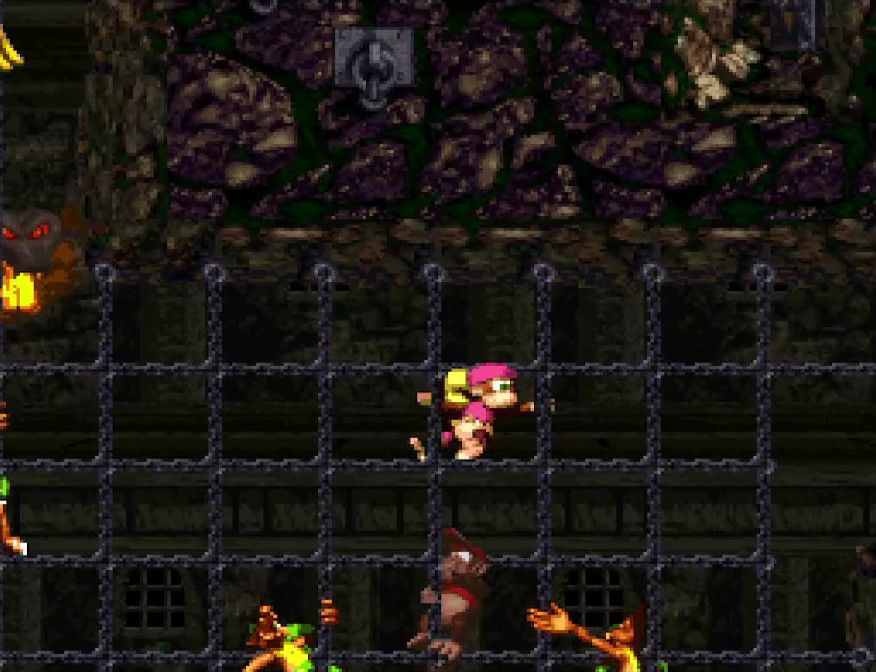
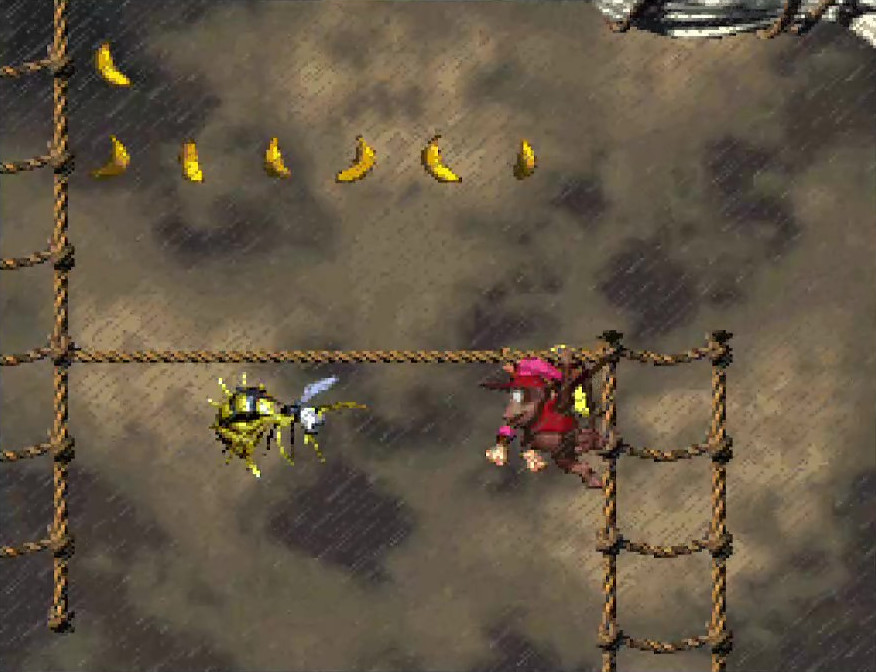
Ropes restrict your movement to specific planes, and enemies are placed along the ropes to force you to jump across with good timing to get past them. Taking away some of your freedom of movement makes it clear what you need to do to move on. Sometimes, you encounter “rope net” sections which give you climbing ability across both vertical and horizontal planes, at the expense of reduced horizontal climbing speed; these are a great mechanic to take the rope climbing experience and introduce a different flavor of it.
Another climbing mechanic is the use of hooks. These objects hold your Kong in place when you jump into them, until you jump away from them. Unlike ropes, hooks are all about asking you to move aerially, and oftentimes multiple hooks are placed in succession, requiring you to jump from hook to hook to continue onward. It’s a bit of a combination between jump movement and rope movement.
Blast Barrel Sections
Blast barrels, unlike their projectile counterparts, are not thrown. Instead, you jump into one of these barrels, and while in the barrel your normal movement is taken away. By “firing” the blast barrel (by tapping the jump button), you are launched out of the barrel’s open top, regaining air movement shortly afterwards. With your normal movement taken away, you instead need to rely on aiming the barrels in the correct direction before blasting out.
There are many kinds of blast barrel to play with throughout the game. Some let you rotate the barrel by pressing the directional buttons. Some spin automatically, requiring you to time your blast right when the barrel is facing the direction you want to go. Some don’t rotate at all; these are often aimed straight up, and are meant for you to use your aerial control after being fired to get where you need to go. Alternatively, they can be aimed in a fixed direction, with baddies between you and the next section, again making it a matter of timing to blast yourself out when the enemy is not in the line of fire. Occasionally, you’ll encounter automatic blast barrels, that shoot almost as soon as you jump into them; these are most often used to take you through a predetermined sequence of barrels, or to get you out of one level area to the next one.
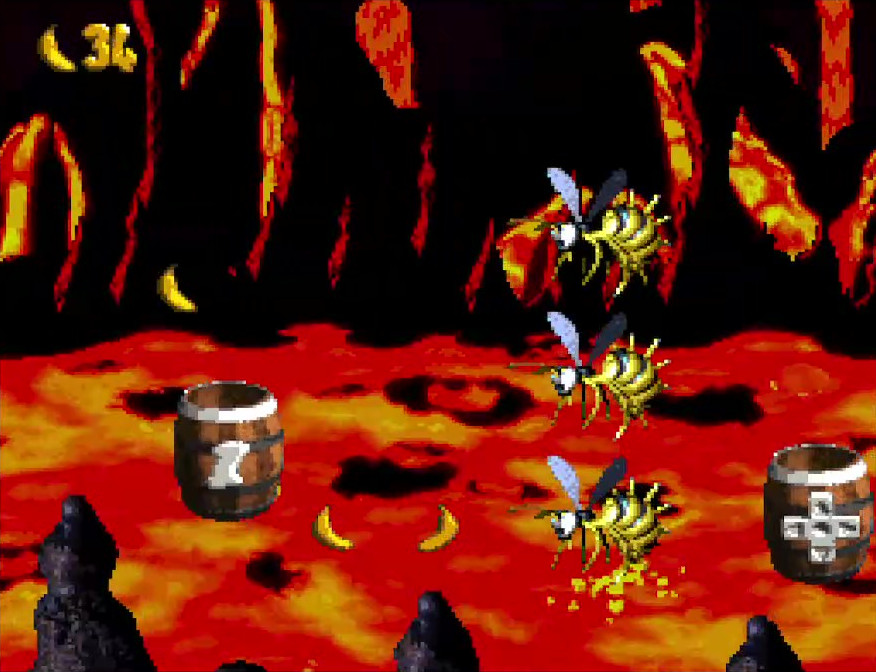
There are a few levels which introduce special blast barrel mechanics. Timed barrels are regular blast barrels that automatically fire after an on-barrel timer expires, giving you a short amount of time to align the barrel correctly before getting shot into an enemy or abyss. Tracker barrels, instead of rotating the barrel, instead let you move the barrel itself across the level, and you’ll need to use them to get across dangerous sections of the level before blasting out. Kong Blast Barrels, marked with Diddy or Dixie heads, will only operate if the Kong you currently control matches the head shown on the barrel, requiring you to keep that Kong alive in order to use them.
Why use blast barrels at all, when you have normal movements that feel great to use? An obvious answer is to provide another change of pace to level mechanics, which in general helps with preventing things from getting too stale. Also, since barrels fire the Kongs at high velocities, it adds a speed thrill to the game while controlling it enough to not make it maddening; if this fast speed was your default movement speed, it would be very hard to control what you were doing. Finally, it provides a new way to take skills you’ve needed to use through normal movement (such as timing moves to defeat or avoid enemies) and gives you a new context to use them in. These things combine to make blast barrels interesting and fun, good qualities to add to any game!
Animal Buddy Sections
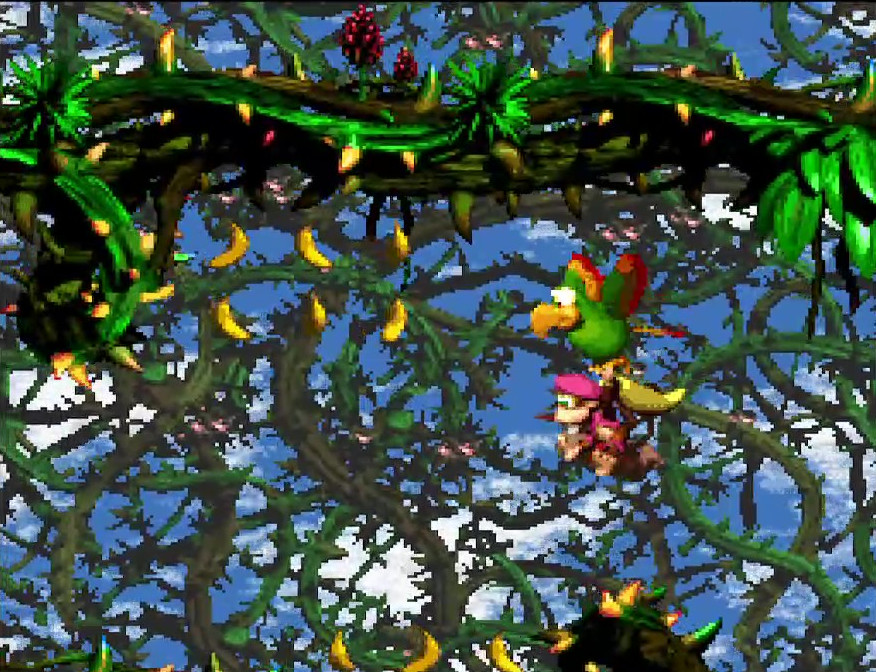
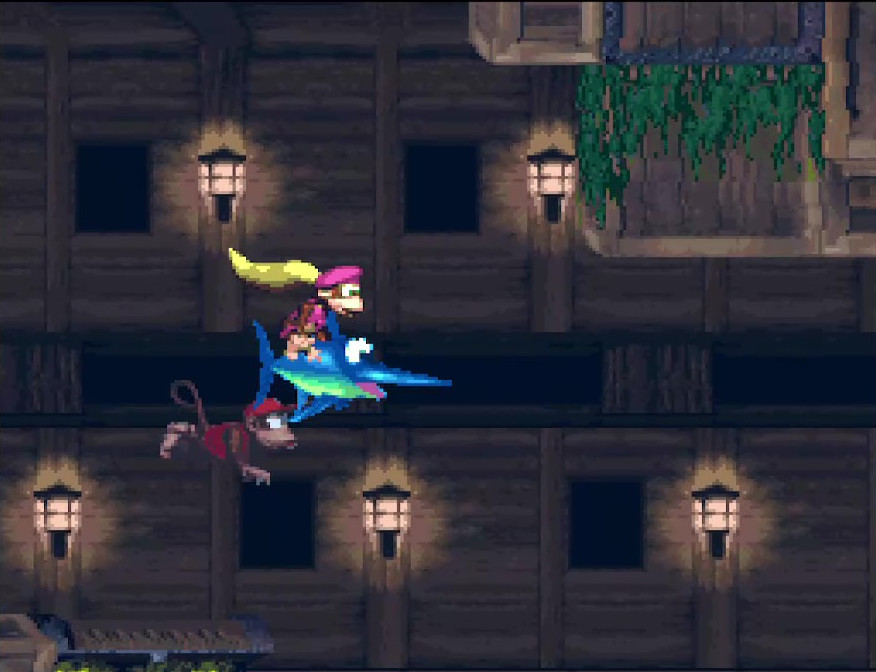
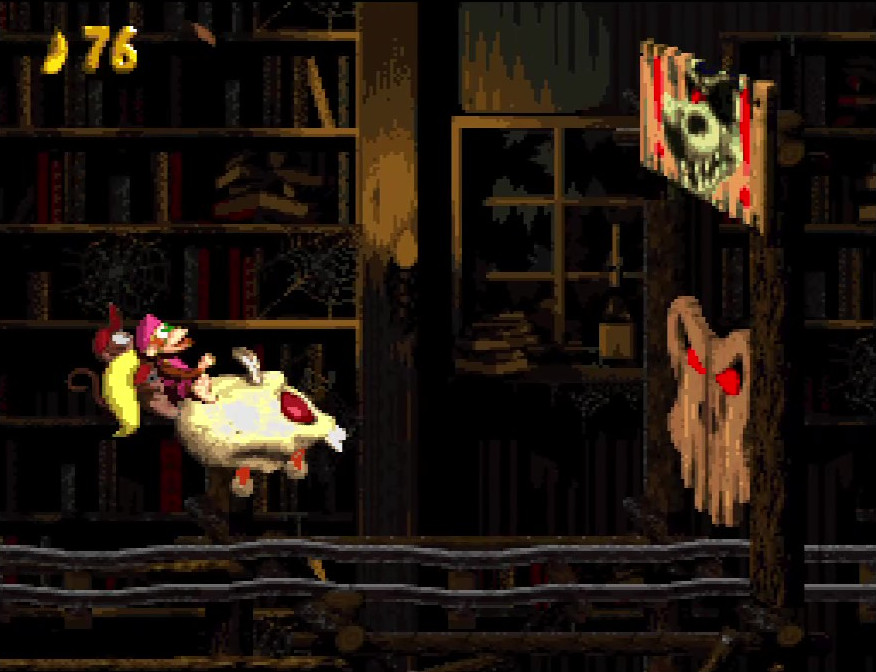
Some levels give you access to an animal buddy, and while you have the animal buddy you have to use its different movement to get through the level. Oftentimes, the level is designed with this in mind. For example, when having Rattly, the levels subsequently are designed with vertical traversal and jumping as central components for sections of that level. You usually don’t need to use the animal buddy for the entire level, however, and signposts with “no animal” signs tell you at what point the animal buddy will be taken away from you; crossing this signpost causes the animal buddy to disappear in a poof of clouds, along with some reward for keeping the animal buddy up to that point in the level.
Not all levels with animal buddies require you to use them to get through the level. Sometimes, the animal buddies are hidden somewhere in the level, and usually not in obvious places. In cases like these, you can beat the level without them, although doing so is usually more difficult; having the buddy makes the level easier to beat, but places a challenge on locating the animal buddy in the first place. This encourages you to search around to see if there are hidden or obscured level sections that would lead you to finding an animal buddy. This reveals another function of the no-animal signposts: if you see one for a particular animal buddy that you don’t currently have, that’s a sign that one was hidden somewhere in the level for you to find.
Some levels do require the animal buddy to proceed. Most of the time, in these cases, you’ll jump into a special Animal Barrel that transforms the Kongs into the animal buddy pictured on the side. The levels which do this are subsequently designed with far more challenging sections that can only be defeated through good use of that animal buddy’s movements and skills. By forcing you to become the animal buddy, you’re prevented from getting yourself in a position where you lose the animal buddy in a level section that requires their movements to get past. It’s a great way of employing user experience to enhance the level design.
Level Gimmicks
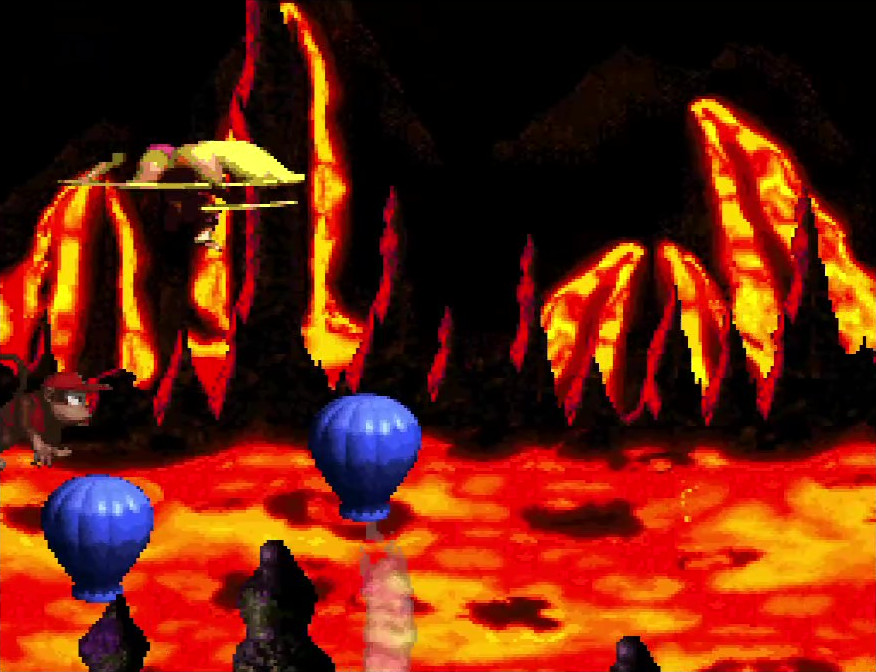
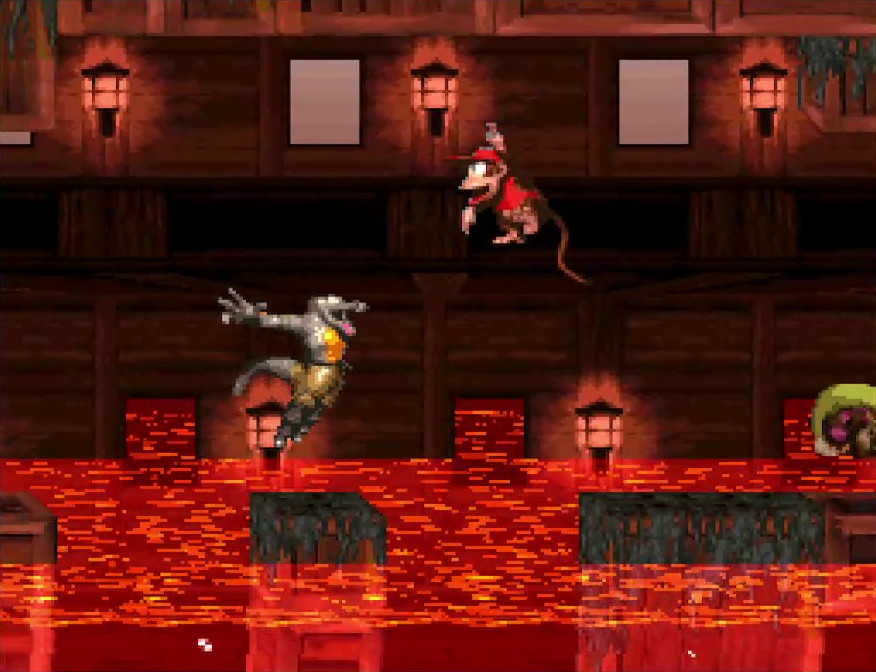
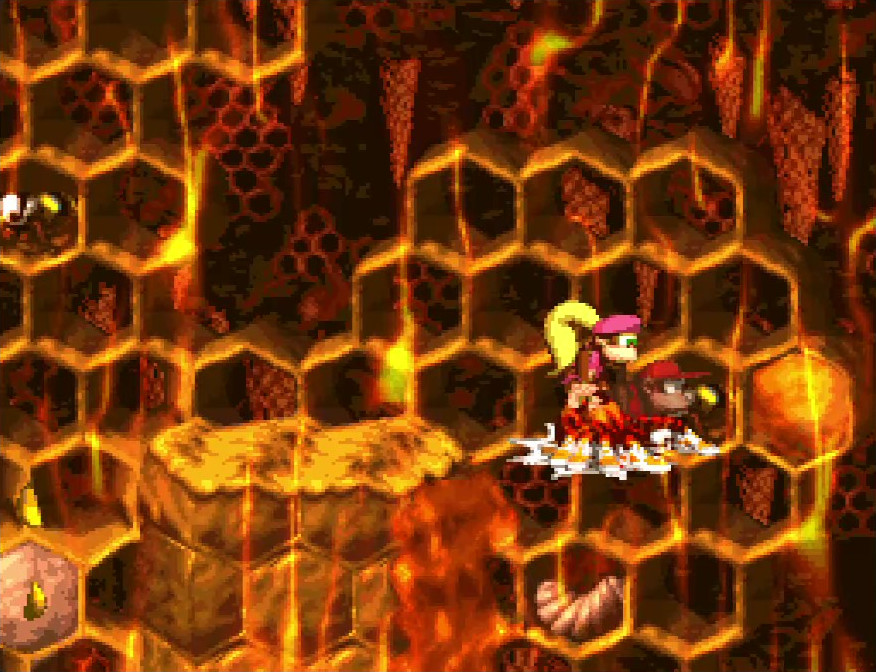
Some levels have their own special mechanics that you have to deal with. For example, in one level, the level is filled with lava, until you jump on Clapper the Seal, who temporarily transforms that lava into water which can be safely traversed. Another level has a wind mechanic, where every so often the wind blows strongly enough to affect all Kong movement, forcing you to have to plan your jumps when the wind is blowing in the direction you want to move. Yet another level features a rising floor, forcing you to make quick decisions about where to go and how to defeat enemies, before running out of room and getting crushed. Most of the time, such gimmicks are only used in that specific level.
How do these gimmicks impact movement? It’s a clever way to test your knowledge and mastery of the various movement mechanics you’ve been introduced to. By adding a special mechanic that changes normal level gameplay, you need to understand how these gimmicks impact your abilities. In cases where your movement itself is directly affected by the gimmick, you also need to apply that understanding to counteract the gimmick’s impact to continue making progress through the level.
Beyond mechanics, special level gimmicks help those levels feel more memorable!
Camera Concoctions
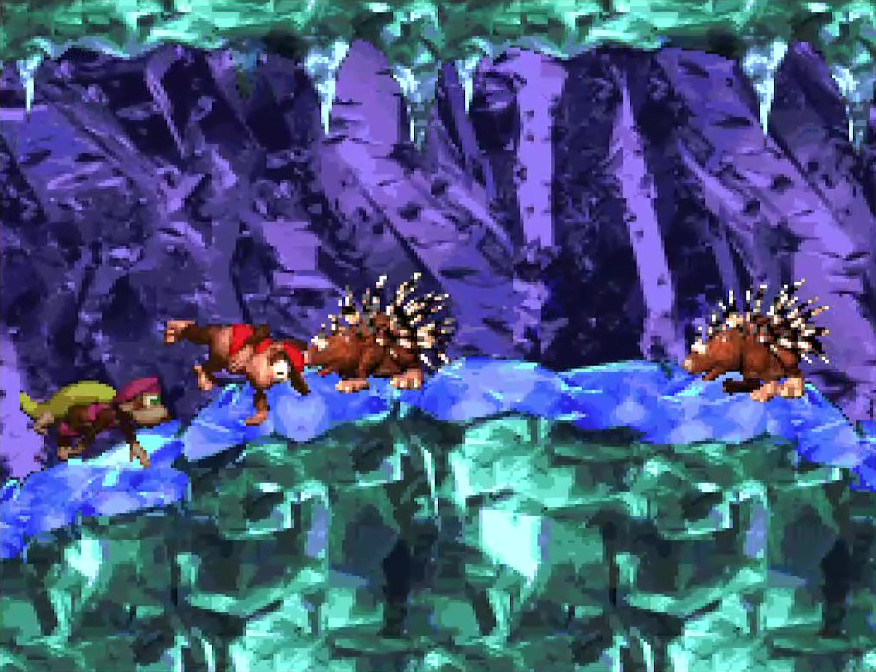
A critical, yet often overlooked, aspect of movement is the game’s camera. After all, it’s a lot harder to make precise movements if the camera isn’t framing the action well! Thankfully, Donkey Kong Country 2’s camera is well designed to enable making your movements with confidence that you won’t get screwed over by it. It’s also used as a way to focus your attention on where you need to be going, as well as hiding goodie sections and bonus areas.
Framing
Let’s start with looking at the basic camera framing. When moving through a horizontal stage, the camera is placed mostly behind you, leaving you a little sight of what’s happening behind you, but giving most of its real estate on the challenges that are immediately in front of you, the direction you need to be going. If you turn around and move leftwards in a horizontal level, however, the camera position shifts to put the Kongs at the center, giving you more sight into what’s happening behind you, without making it feel like this is the “correct” direction to be moving in. It’s one way the game helps prevent you from getting lost in a level.
What about vertical or square levels, where progression can include moving leftwards or rightwards? Here, the camera sits in such a way that you can see more of the area in the direction the Kongs are facing than the direction behind them. This is a good compromise, though it does sacrifice some of the camera’s ability to tell the player where to go. Such instances are usually paired with level design that doesn’t let you move too far in a horizontal direction, however, so if you do end up accidentally backtracking, you won’t lose much time over it before figuring it out and turning to go the correct way.
A technique that is also used is placing sections of level that are impossible to navigate backwards through once you go through them. There are also a few instances where the camera itself is prevented from moving backwards, forcing you to keep moving in the intended level direction.
Motion
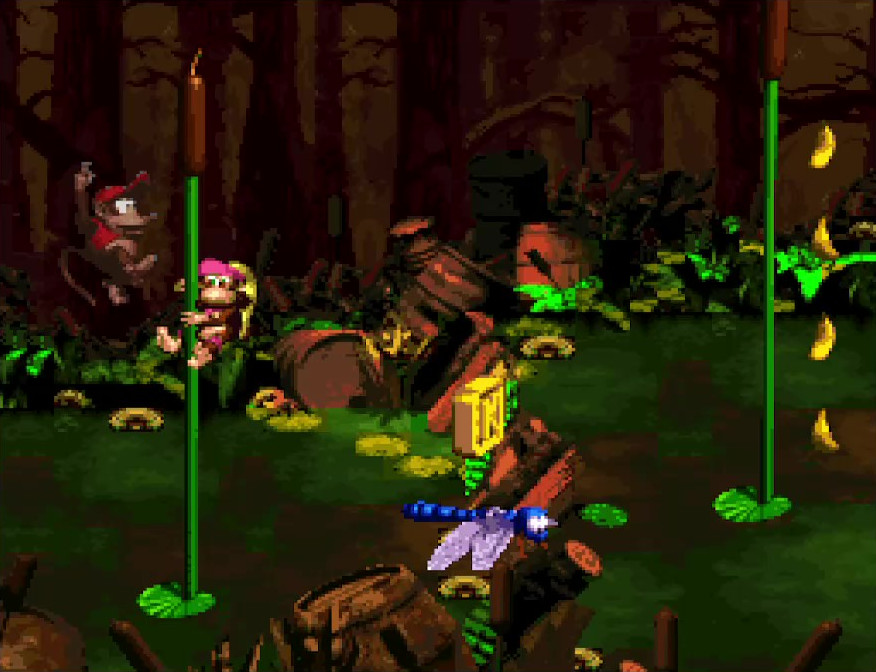
Something that isn’t immediately obvious, until you start paying attention to it, is that the camera’s vertical height is precisely controlled. Depending on where you are in the level, the camera’s vertical height is fixed at a predetermined coordinate; as you move through the stage horizontally, the camera’s height is automatically adjusted depending on the height of the terrain you are walking across. When you reach vertical level sections, or swimming and flying areas that involve vertical movement, then the camera follows the player’s movement.
There are certain areas of a level where the camera’s vertical and horizontal movement are stopped. In cases like these, it makes it clear where the intended progress of a level is, and it also prevents the camera from clipping too far off the edge of a level (a place you don’t need to see to make any gameplay decisions). Interestingly, this technique is sometimes used to obscure entrances to goodie or bonus areas, requiring you to watch carefully for telltales signs (such as the lone banana near the edge of the screen) and rewarding you for your observational skills.
Importantly, the camera does not move vertically to follow Diddy and Dixie when they jump. This allows you to not lose sight of the ground, and anything on it you might be jumping towards or away from. It is a subtle way of allowing you to maintain precise control over where you are moving. If this camera mechanic weren’t in place, it’d be easy for enemies to drop out of frame while you’re in mid-air. That would make it much harder to plot your movements, since you’d have to rely on memory to know where you should and shouldn’t jump. It’s a crucial component to making the Kongs’ movements feel good.
Aspect Ratio
A huge difference with Donkey Kong Country 2, compared to modern platformers, is the use of the squarish 4:3 aspect ratio. This was how most TVs were built back in the days when this game was released, so that was the only supported resolution the game had. Unlike the rectangular 16:9 aspect ratio, which is what computer monitors and TVs commonly use these days, 4:3 gives you much less horizontal screen real estate, so there’s less room to tell you what’s coming up.
Having to account for this limited width of frame has a lot of influence on the game’s design. For example, rarely do you see long and wide sections of challenging gameplay, and the times you do encounter them are specifically designed with the obscured view in mind, forcing you to react quickly to what you see as the camera reveals what’s coming next; consequently, you need to know your movement well so you don’t have to think about what to do when you see the next challenge in frame; you can just instinctively react to it. We don’t often think of aspect ratio as a part of the game designer’s arsenal, but the limited nature of the aspect ratio in DKC2 is clear evidence that it does, in fact, play an important part of how a game’s design feels.
To Be Kong-tinued
In this part, we examined many different ways the level design of Donkey Kong Country 2 takes the movement mechanics of the player and provides exciting, challenging ways to use them. We also examined the various special forms of gameplay, which either incorporate special movements or enhance the challenge of your regular movements. Finally, we took a look at how the game’s camera itself plays an important role in how the movement feels. No matter how good a game’s character feels to move, without good level design those good movements won’t feel as fun as they could be.
There is one more component that makes the movement feel good: the enemy design. In the final part of this three-part series, we’ll examine the baddies of Donkey Kong Country 2 and how they, too, play a crucial role in making the movement feel good. Stay tuned!
This is Part 2 of a 3-part series. Check out all the parts here!
Part 1: Here!
Part 2: This post.
Part 3: Here!